British Digestive Biscuits
Digestive biscuits were always one of those everyday staples I took for granted growing up in Britain. You can find them in practically every supermarket, and I always seemed to have a packet around for a snack alongside a cup of tea.
Since moving to the US, I’ve missed having them quite so readily available, so I wanted to figure out how to make my own.
What Is a Digestive Biscuit?
Digestive biscuits are a classic British biscuit traditionally made with wholemeal flour and bicarbonate of soda.
The name comes from the historic use of bicarbonate of soda — called baking soda in the US — in recipes once associated with digestion. Despite the name, that’s no longer really the point of a digestive biscuit. Today, they’re simply a much-loved British treat, particularly good alongside a cup of tea.
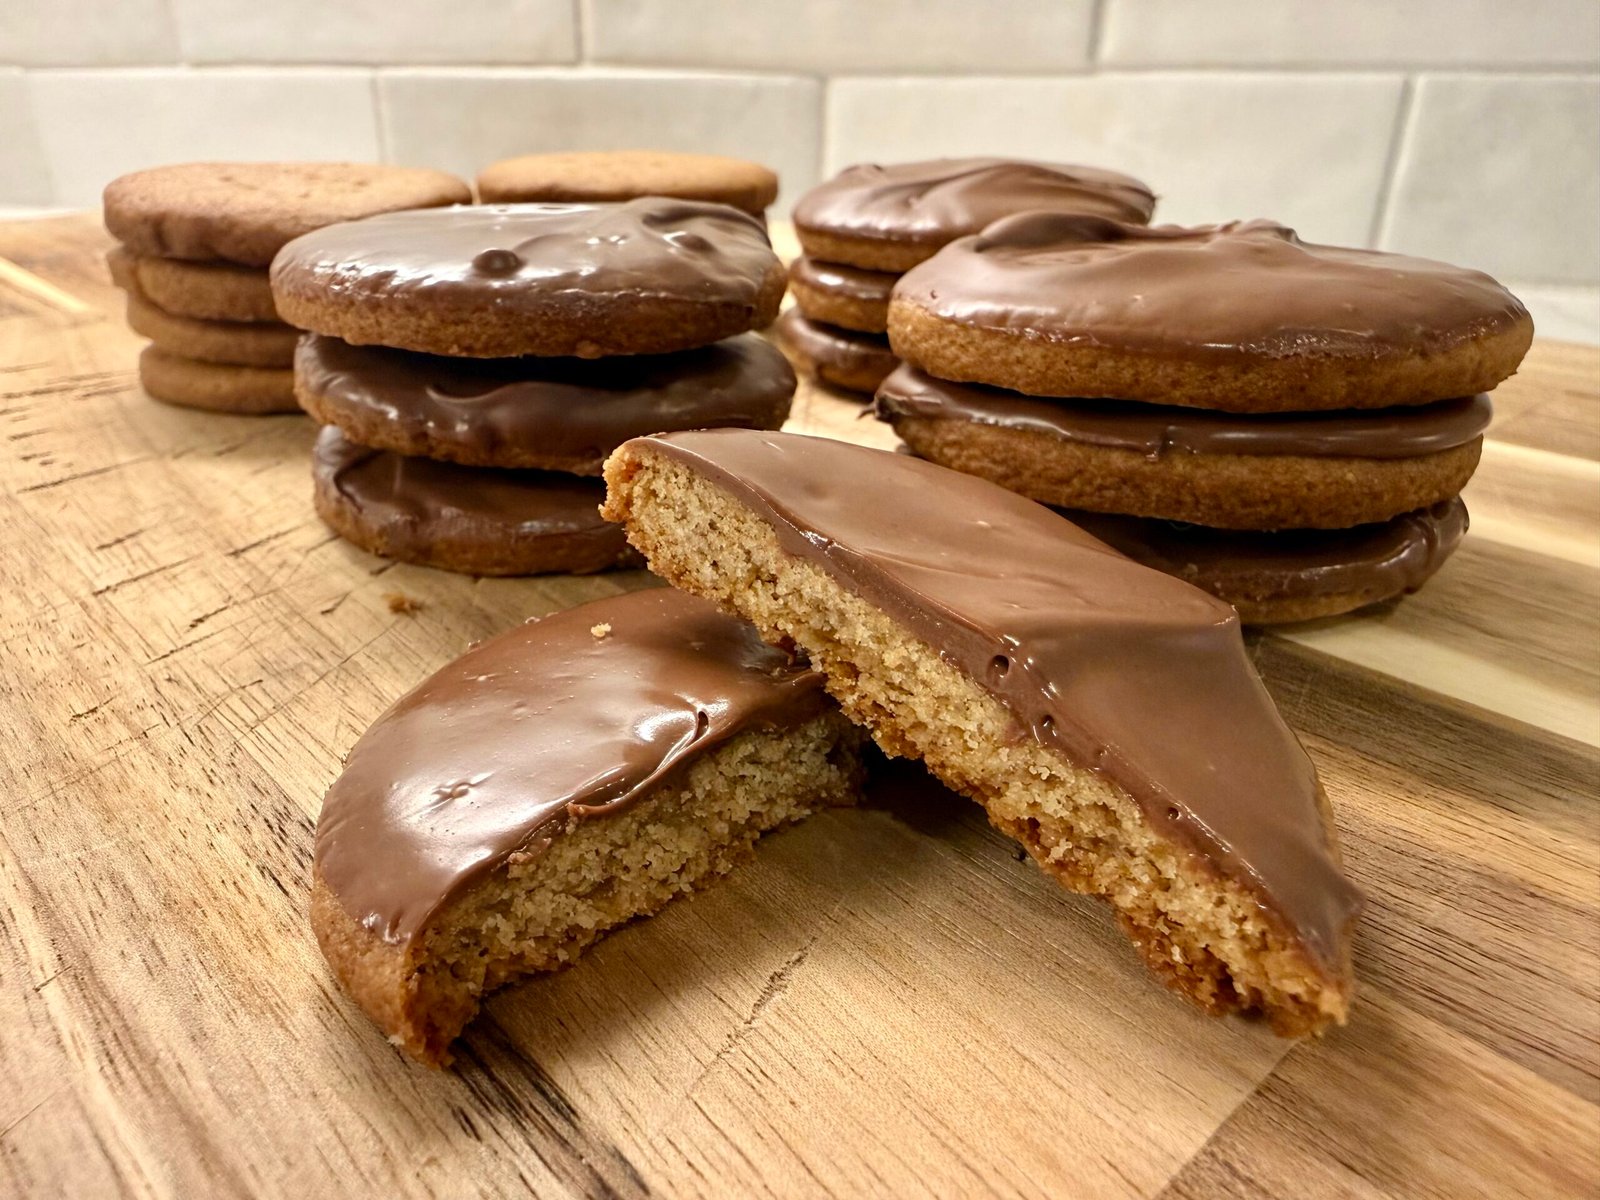
Plain digestives are a classic, but covering one side with milk chocolate makes them even better.
Adapting Digestive Biscuits for an American Kitchen
British recipes usually call for wholemeal flour, while the closest readily available American equivalent is whole wheat flour.
The two aren’t quite identical, so I use a combination of whole wheat and all-purpose flour in this recipe. The larger proportion of whole wheat gives the biscuits their familiar wheaty flavor, while a little all-purpose flour helps keep the texture crisp and crumbly rather than overly dense.
I also use baking soda in place of the British term bicarbonate of soda — they’re exactly the same ingredient.
How Thin Should Digestive Biscuits Be?
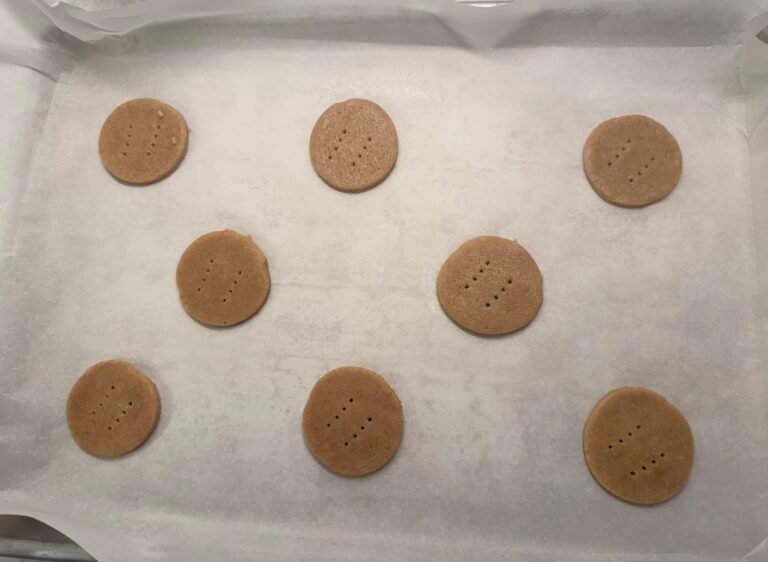
Roll the dough to approximately 4 mm thick – or the thickness of two quarters. They don’t need to be absolutely identical, but keeping them fairly thin helps create the crisp, crumbly texture of a traditional digestive.
Once cut, prick the tops several times with a fork. Apart from giving them that familiar digestive-biscuit appearance, this helps prevent the biscuits from puffing too much as they bake.
Baking Digestive Biscuits at High Altitude
I developed this recipe in my Colorado mountain kitchen at approximately 8,600 feet.
Biscuits are considerably more forgiving at altitude than cakes or breads, but the dry mountain air can still affect moisture and baking time. I found that a slightly higher oven temperature helped the biscuits bake evenly and develop their crisp texture without becoming overly dry.
At my elevation, I bake them at 365°F. At substantially lower elevations, I recommend 350°F, allowing an extra few minutes if needed and using their color and texture as your guide.
British Digestive Biscuits
Ingredients
Equipment
Method
- Preheat the oven to 365°F conventional. Line large sheet pans with parchment paper.
- In a large bowl, whisk together the whole wheat flour, all-purpose flour, sugar, baking soda, and salt.
- Add the cold cubed butter. Rub it into the dry ingredients with your fingertips until the mixture resembles fine breadcrumbs.
- Pour in the milk and stir until the mixture begins to clump together.
- Gently press the mixture together with your hands to form a dough. Do not knead. The dough should be firm and cohesive rather than sticky.
- Flatten the dough into a disc, cover in plastic wrap, and refrigerate for 20 minutes.
- Roll the chilled dough between two sheets of parchment paper to approximately 4 mm thick.
- Cut into rounds about 2½ inches / 6 cm wide. Transfer the biscuits to the prepared sheet pan.
- Prick each biscuit several times with a fork.
- Chill the cut biscuits for another 10 minutes.
- Bake for 13–17 minutes, beginning to check at 13 minutes. The biscuits should be evenly golden with slightly darker edges.
- Leave them on the baking sheet for about 5 minutes, then transfer to a wire rack to cool completely. They will become crisper as they cool.
- For milk chocolate digestives, melt the chocolate and coat one side of each cooled biscuit. Place chocolate-side up on parchment and leave until completely set.
Notes
Want more recipes like this?
Get new British-inspired recipes and high-altitude baking tips straight to your inbox.