Good baking should work wherever you call home. These guides are here to help with the details — from understanding how altitude can change a bake to finding the right British ingredients in an American kitchen.
They’re based on the same practical approach I use to develop and test recipes in my Colorado mountain kitchen.
High-Altitude Baking
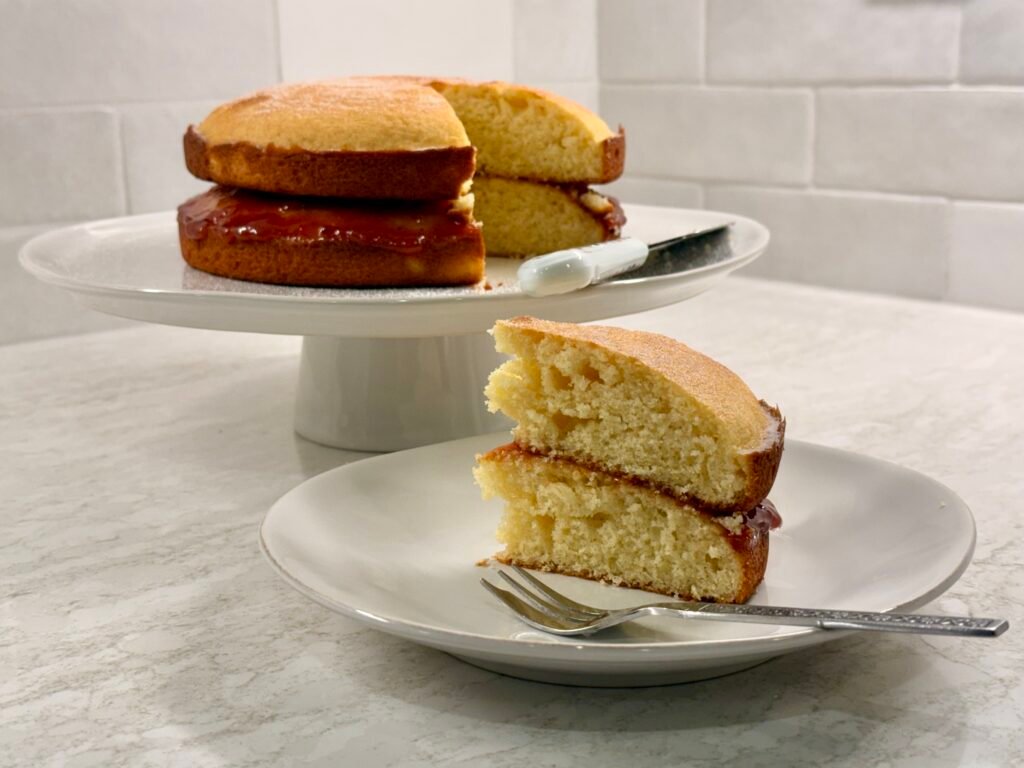
Baking at high altitude can change how quickly a cake rises, how fast moisture evaporates, and how long a bake takes to set. The higher you go, the more noticeable those changes can become.
Because I develop and test recipes at approximately 8,600 feet, many of the recipes on The Mountain Cottage Kitchen already include high-altitude adjustments. If you bake lower down, you may need to scale those adjustments back.
What Counts as High Altitude?
I first learned to bake in England, where most places sit below 1,500 feet and altitude was never something I had to think about. However, in the U.S., many well-known cities sit much higher: Salt Lake City is around 4,200 feet, Denver about 5,280 feet, Colorado Springs around 6,000 feet, and Santa Fe just over 7,000 feet. Here in Woodland Park, I’m baking at approximately 8,600 feet — high enough that recipe adjustments can make a noticeable difference.
As a general rule, bakers around 3,000–5,000 feet may need only small changes, while those in the 5,000–7,000-foot range often benefit from more deliberate adjustments. At 7,000 feet and above, changes to leavening, liquid, sugar, flour, and oven temperature may become increasingly important.
Why Altitude Changes Baking
At higher altitudes, lower atmospheric pressure changes the way ingredients behave in the oven. Gases from baking powder, baking soda and yeast expand more easily. Moisture evaporates faster and water boils at a lower temperature.
Before moving to Colorado, the highest elevation I had ever baked at was just 438 feet. Suddenly, recipes I knew well became frustrating. Cakes would rise too quickly before their structure had set. Bread would proof faster than I expected. Baked goods would dry out more easily. Baking often started with confusion and, more than once, ended in tears. The higher the altitude, the more noticeable these effects can become — but not every recipe needs every adjustment.
That’s why I treat high-altitude baking as a series of small, practical changes rather than one fixed formula.
The Main High-Altitude Adjustments
Unfortunately, there isn’t one exact formula that works for every recipe. Instead, I look at a handful of variables that can be adjusted depending on the bake and the altitude: leavening, liquid, sugar, flour, oven temperature and baking time.
The higher you go, the more likely it is that one or more of these adjustments will matter. But the goal isn’t to change everything at once — which is very much where I started! Start with the adjustment that best matches what went wrong in your bake, then make a small change and test again. High-altitude baking is often a process of narrowing things down.
Leavening
It seems counterintuitive, but at higher altitudes you often need to decrease the amount of leavening. That gets even more complicated when you’re adapting a British recipe made with self-raising flour to American all-purpose flour.
Baking powder and baking soda create gases that expand more easily at altitude. If there is too much leavening, a cake can rise quickly before its structure has had time to set, then sink as it cools.
Reducing the leavening slightly can help create a slower, more stable rise. The amount to reduce depends on both the altitude and the type of bake, so this is one place where I prefer to make small changes rather than follow one fixed rule.
Liquid
At high altitude, moisture evaporates more quickly, so some recipes need a little extra liquid to stay balanced. That might mean adding more milk, water, or another liquid already used in the recipe.
This is one adjustment I like to judge by the batter or dough itself. Sometimes a recipe needs only a small splash more, while another may need a more noticeable increase. I’d rather add liquid gradually than make one big change all at once.
That instinctive “add a little more if it needs it” approach is actually how my Grandma taught me to bake. It’s something I still rely on now — only these days, I’m paying attention to altitude as well as texture.
Sugar
At high altitude, moisture evaporates more quickly, which can make the balance between sugar and the other ingredients more important. In some cakes and quick breads, slightly reducing the sugar can help strengthen the structure and prevent the bake from becoming too soft or collapsing.
British recipes also tend to be less sweet than many American bakes, so this is an area where I’m often starting from a lower-sugar recipe anyway. That can actually work in your favor at altitude, but it still needs to be balanced carefully with the flour, liquid and leavening.
I treat this as a fairly small adjustment. Sugar affects much more than sweetness — it also affects moisture, tenderness, browning and texture — so taking out too much can create a different problem altogether.
Flour
At high altitude, a little extra flour can sometimes help give a bake more structure, especially in cakes and soft batters. More flour can help support the rise when gases are expanding more quickly.
Sometimes I’ll also replace a small portion of the all-purpose flour with bread flour for a little extra strength and structure. I don’t do this automatically, but it can help when a recipe needs more support.
I tend to think of flour and liquid together. If I add more flour or use some bread flour for structure, I also pay close attention to whether the batter or dough still has the right consistency. Too much flour can quickly make a bake dry, dense or heavy.
Oven Temperature and Baking Time
At high altitude, a slightly hotter oven can sometimes help a bake set before it rises too far and then collapses. Increasing the oven temperature by around 15–25°F is a common starting point for cakes and similar bakes.
A hotter oven can also mean a shorter baking time, so higher temperature doesn’t necessarily mean a longer bake. I usually start checking for doneness earlier and rely on the appearance and texture of the bake, rather than the clock alone.
Baking One of My Recipes at a Different Altitude?
Every recipe on The Mountain Cottage Kitchen is developed and tested at approximately 8,600 feet. If you’re baking at a lower altitude, you may need to scale back some of the high-altitude adjustments I’ve made.
That doesn’t mean changing every ingredient by the same percentage. Cakes, scones, cookies and breads all behave differently, so I use elevation ranges as a starting point and then consider the type of bake.
Above 9,000 feet
You may need to increase the high-altitude adjustments slightly beyond my 8,600-foot recipe. That can mean a little less leavening, a little more liquid, and sometimes a little more structural support, depending on the bake. Make small changes and use the texture, rise, and doneness of the bake as your guide.
Around 7,000–9,000 feet
Start with my recipe as written. You’re baking under conditions reasonably close to my Woodland Park kitchen.
Around 5,000–7,000 feet
You may need to scale back some of the high-altitude adjustments and move the recipe closer to a lower-altitude formula. That can mean slightly more leavening, a little less added liquid, and sometimes less extra flour or structural support than I use at 8,600 feet.
Around 3,000–5,000 feet
Scale back the high-altitude adjustments even further where the recipe actually needs them. At this elevation, some bakes may move closer to a standard lower-altitude formula, particularly in leavening, liquid and flour. Others may need very little change at all.
Below about 3,000 feet
Some altitude-sensitive recipes may work better with a standard lower-altitude formula. Where I can, I include specific lower-altitude notes so you can adapt the recipe for your kitchen.
My recipes are tested at 8,600 feet, but the lower-altitude guidance is there to give you a practical starting point. If a recipe includes more specific notes for your elevation, use those first.
British Baking Ingredients in America
Moving from England to the U.S. meant learning that even familiar recipes could suddenly come with unfamiliar ingredients. Some British baking staples have a different name here, some are formulated differently, and others simply aren’t as easy to find.
The good news is that you usually don’t need a cupboard full of imported ingredients to bake a British recipe successfully. Here are the substitutions and equivalents I use most often in my kitchen.
Flour
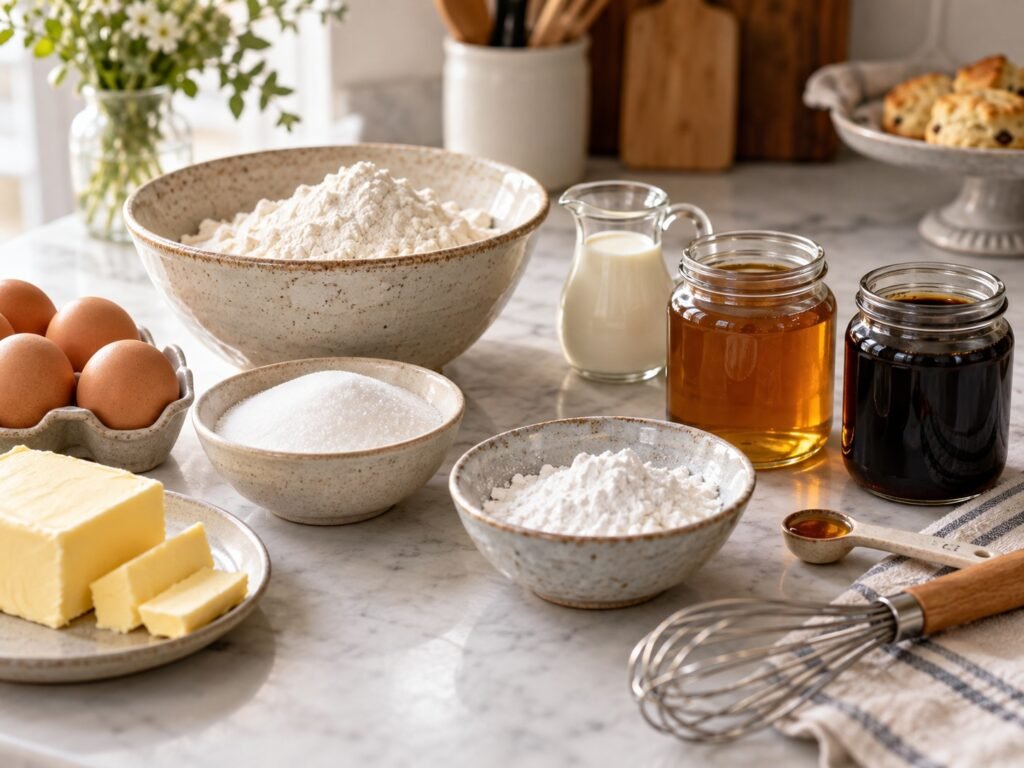
In British recipes, plain flour is generally equivalent to American all-purpose flour, while cornflour means cornstarch. For self-raising flour, I usually prefer to use American all-purpose flour and add the leavening separately, which is especially helpful when I’m also making high-altitude adjustments
Sugar
In British recipes, caster sugar is closest to superfine sugar in the U.S., although I usually use regular granulated sugar in my baking. Icing sugar is simply powdered sugar or confectioners’ sugar.
Golden Syrup and Black Treacle
Golden syrup is a thick and delicious syrup with a rich caramel flavor. I prefer to use Lyle’s Golden Syrup when a recipe calls for it, because substitutes like corn syrup or honey can change both the flavor and texture.
Black treacle is closest to dark molasses, but the flavor isn’t quite the same. If treacle is an important part of the recipe, I prefer to use Lyle’s Black Treacle where possible.
Both can usually be found online, in British import shops, or occasionally in larger grocery stores.
Cream
British double cream is richer than standard American heavy cream. Heavy whipping cream is usually the closest practical substitute, although the finished texture may be a little lighter.
Egg Sizes
UK and U.S. egg sizes don’t match exactly. For most everyday baking, large eggs will usually work, but weighing the egg is the most reliable option when precision matters, especially in cakes and enriched doughs.
Baking Equipment
You don’t need a kitchen full of equipment to bake well. I like to keep things simple, but a few reliable tools can make baking more consistent and a lot less frustrating.
These are the pieces of equipment I use most often when developing recipes for The Mountain Cottage Kitchen.
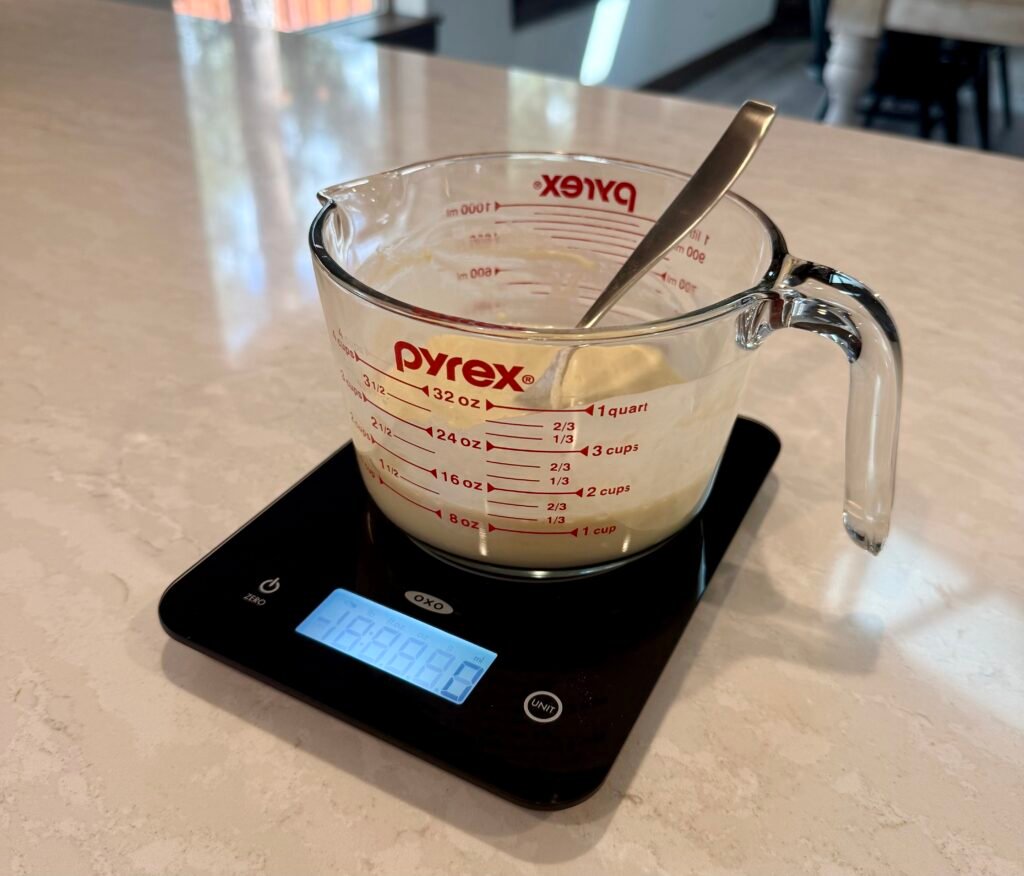
Digital Kitchen Scale
A good digital scale is one of the most useful tools in my kitchen, and it’s how I learned to bake. In fact, I rarely use measuring cups. Weighing ingredients is more accurate than measuring by volume, especially for flour, sugar, and doughs where small differences can affect the result.
Instant-Read Thermometer
I use an instant-read thermometer for breads, enriched doughs, and anything where the center can look done before it actually is. Internal temperature is often a more reliable guide than time alone.
Tins and Cooling Racks
Pan size matters more than it sometimes seems. I try to use the same pan size listed in the recipe, because changing the depth or surface area can affect both baking time and texture. A simple cooling rack also helps air circulate around cakes, breads, cookies, and scones so they cool evenly instead of steaming underneath.
Stand Mixer
A stand mixer is helpful for enriched doughs, buttercream, and larger batches, but it isn’t essential for every recipe. Many of my bakes can still be made by hand or with a hand mixer.
Over time, I’ll add more specific notes on the tools and pans I use most often. For now, these are the pieces I find genuinely useful in my own kitchen.
Ready to Bake?
Use these guides as a starting point, then browse the recipes developed and tested in my kitchen.